Table of contents
- What POS software actually does
- Get to know your POS hardware before your first shift
- How to ring up sales, step by step
- Processing refunds and adjustments
- Using loyalty and customer data at checkout
- Reading POS reports, for shift leads and managers
- How this changes across restaurants, bars, and retail counters
- Keeping every transaction secure
- Getting comfortable on a new system before it matters
- Frequently asked questions about how to use point of sale software
Your first shift on a new POS system always feels slower than it should. There's a line forming, a modifier you can't find, and a manager watching over your shoulder while you hunt for the discount button. None of that means you're bad at the job. It means nobody walked you through the system before they handed you the terminal.
This guide is that walkthrough. It covers what the hardware actually does, how to ring up a sale from start to finish, how to handle different payment types, and how loyalty and reporting fit into a normal shift. The mechanics are similar whether you're figuring out how to use a pos system in a restaurant, how to use a pos system in restaurant delivery and takeout, how to use a bar pos system, so this applies broadly even though most of the examples below are restaurant-specific.
Key takeaways
- POS software replaces a cash register and a paper ticket book with one system that rings up sales, processes payments, and tracks inventory in real time
- Every POS terminal shares the same core hardware: a card reader, a receipt printer, a cash drawer, and often a barcode scanner or customer-facing display
- Ringing up a sale follows the same basic sequence everywhere: open a ticket, add items, apply any discounts or loyalty points, take payment, close the ticket
- Payment types now go well beyond swiping a credit card. Contactless payments, mobile wallets like Apple Pay, and gift cards all need to be handled slightly differently at checkout
- The fastest way to get comfortable on a new POS is to practice on a training mode or a demo menu before your first real shift, not during it
What POS software actually does
Point of sale systems have mostly replaced the mechanical cash register, and for good reason. A cash drawer and a pen and paper can log a sale, but they can't track inventory, run a sales report, or apply a loyalty discount automatically.
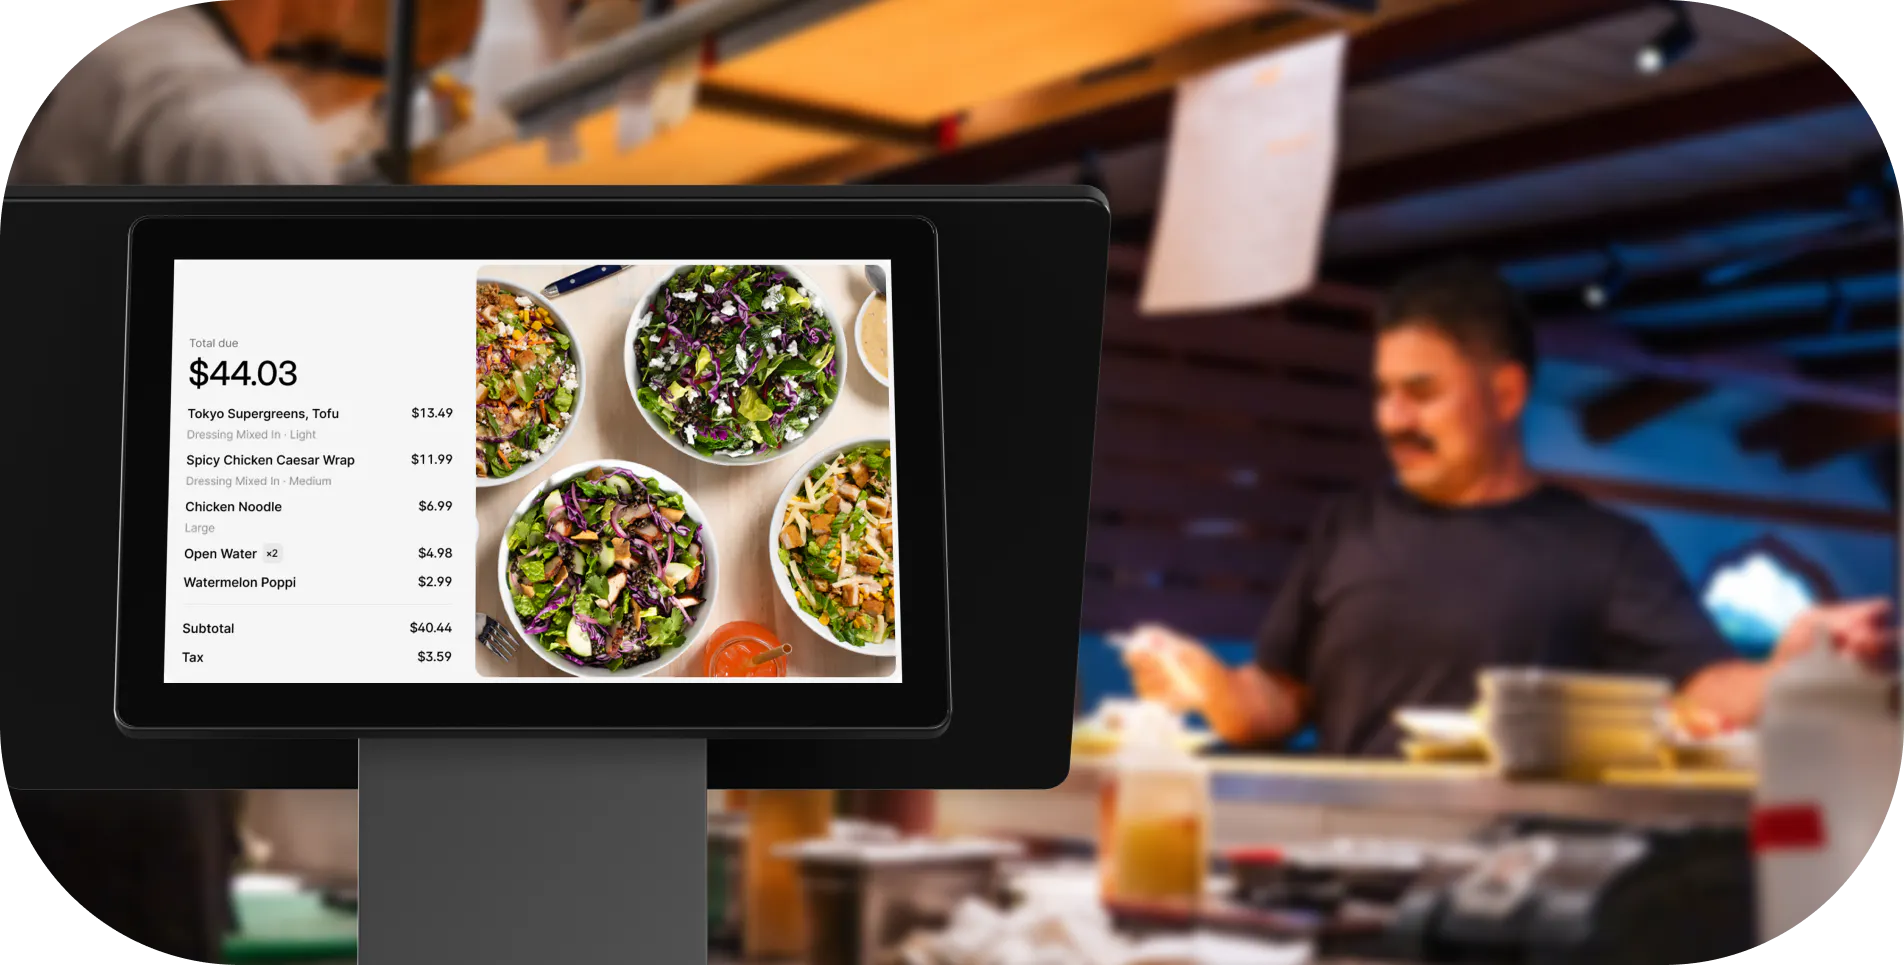
Modern cloud-based POS systems handle all of that from one screen: taking the order, processing the payment, updating inventory management in the background, and syncing sales data so a manager can pull a report without asking anyone to count receipts by hand. For a deeper look at what separates a POS built for restaurants from one built for general retail, Otter's walkthrough on picking a POS for a small restaurant breaks down the hardware and software differences in more detail.
Get to know your POS hardware before your first shift
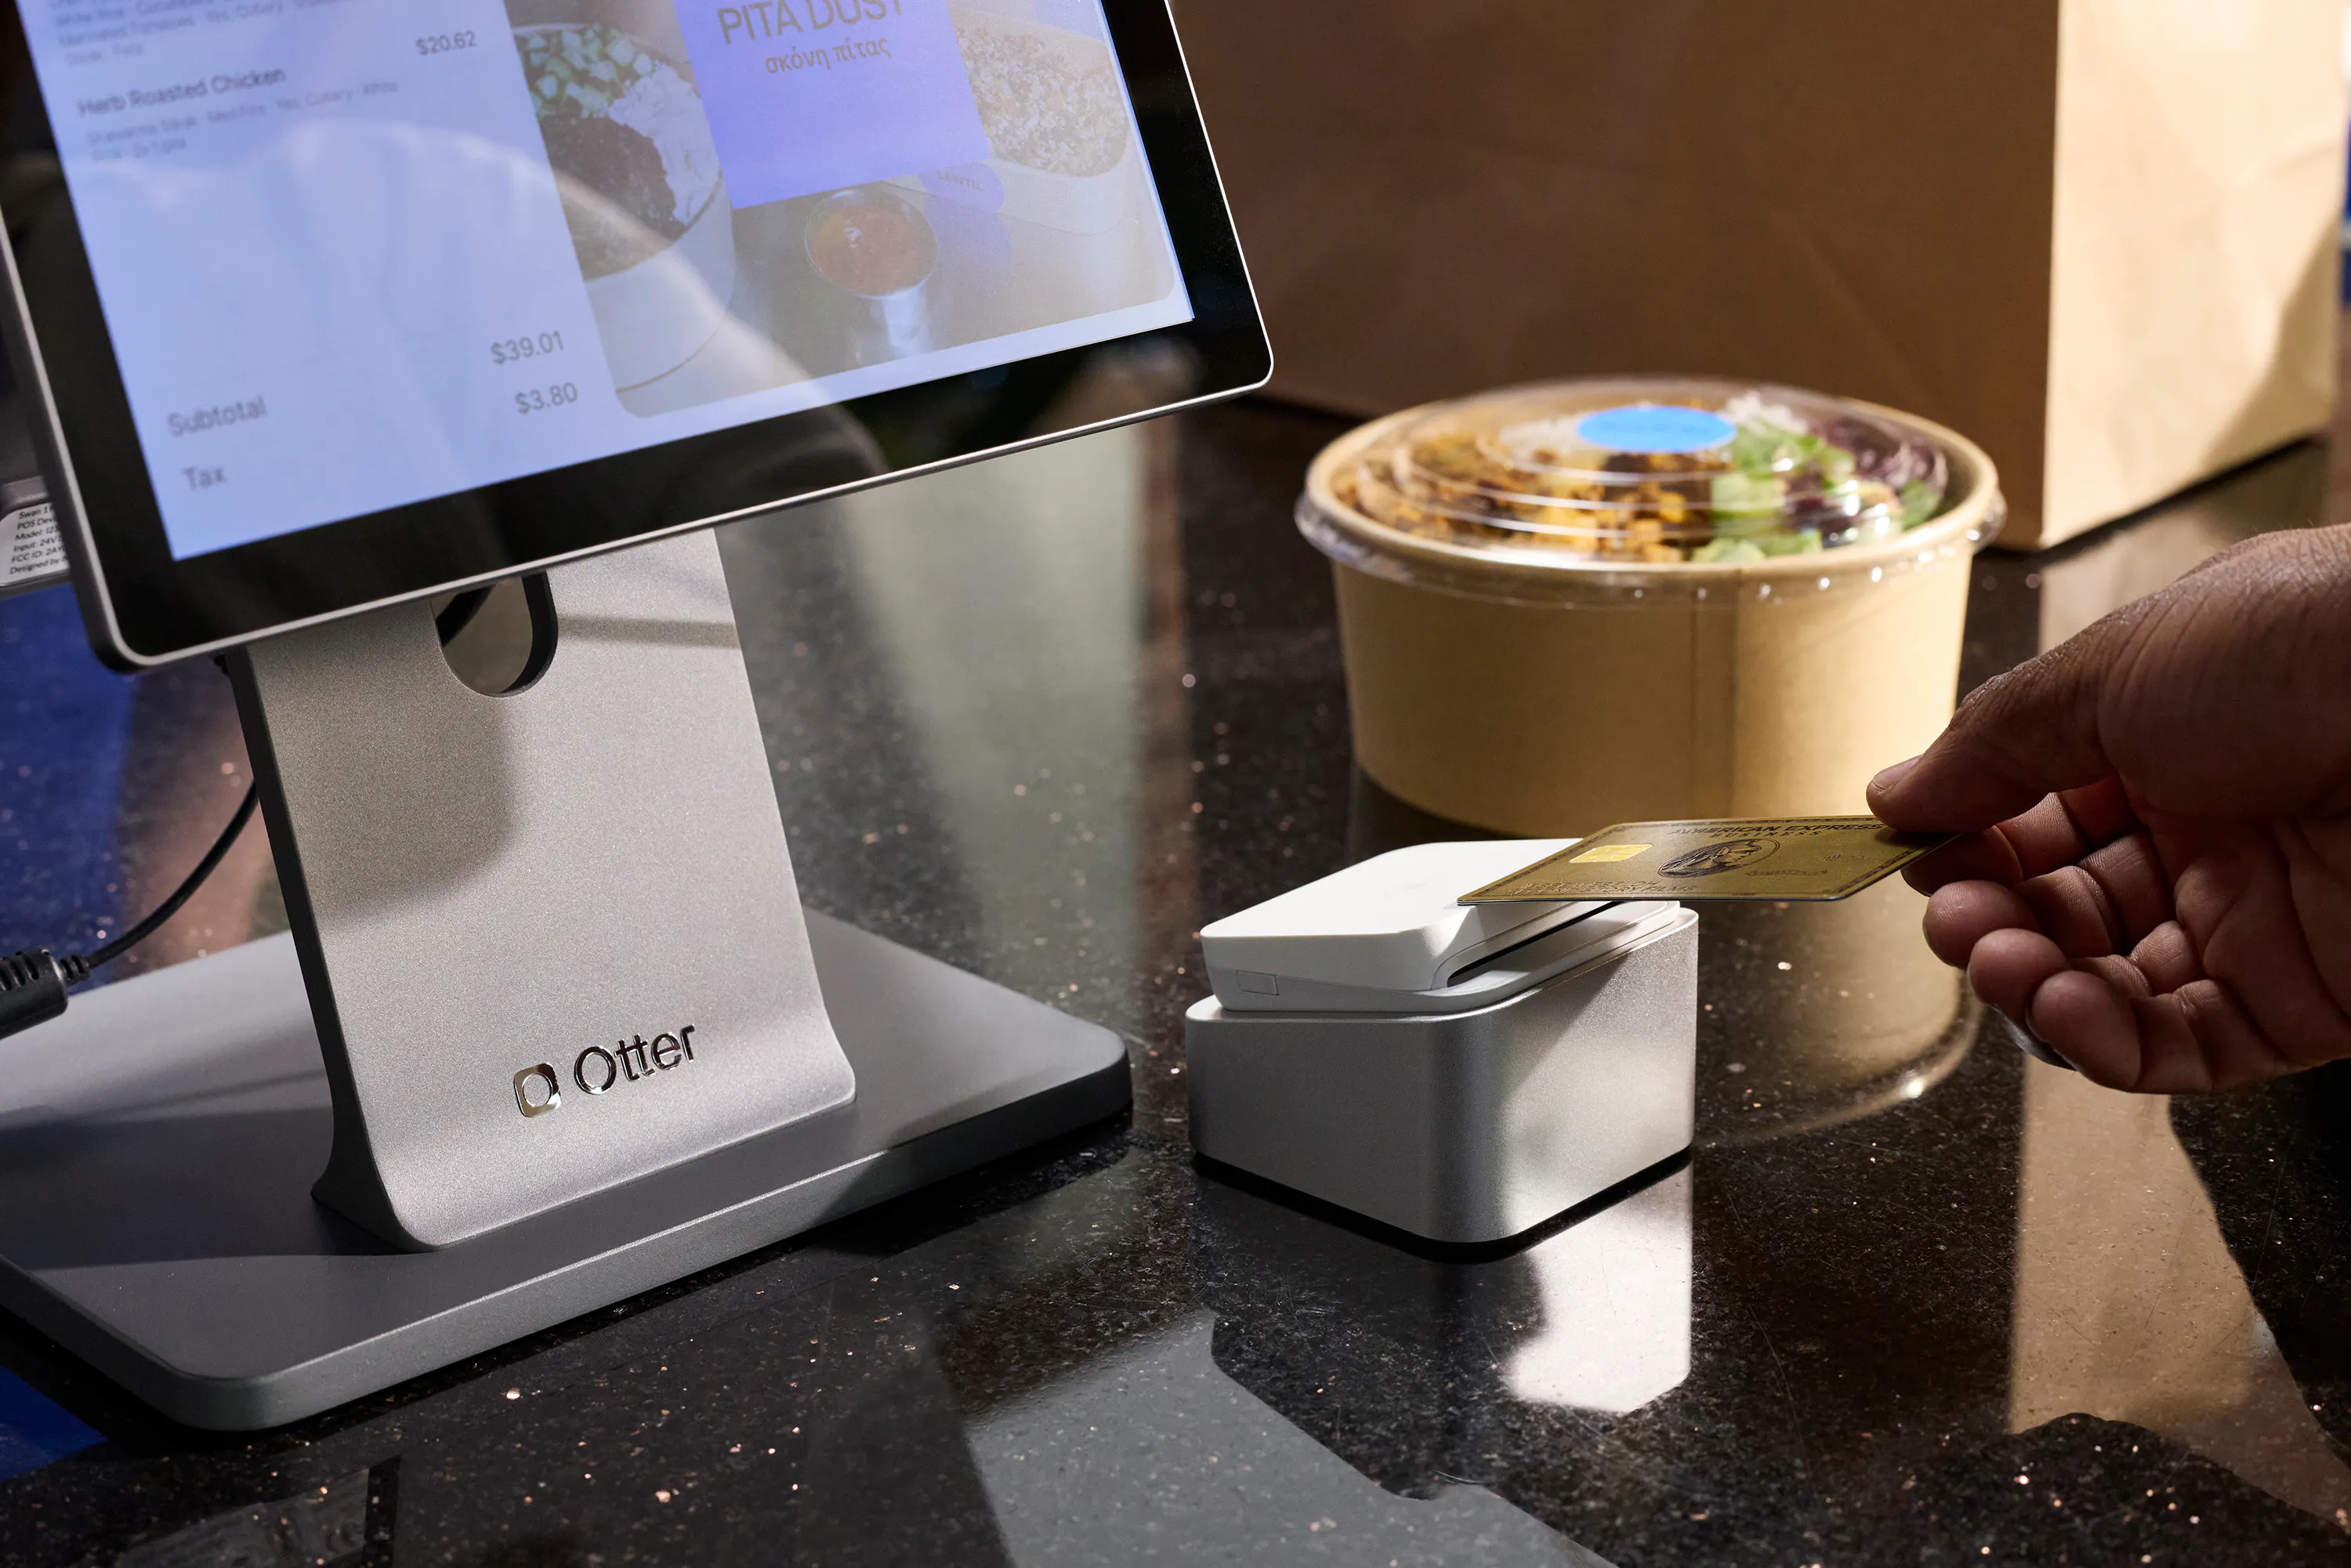
Every POS setup is built from roughly the same pieces of pos hardware, whether it's sitting on a counter or riding along as a handheld mobile POS. Knowing what each piece does before your first shift saves you from fumbling with it in front of a customer.
Hardware | What it does | What to check before opening |
|---|---|---|
POS terminal or mPOS | Runs the software, displays the ticket, and processes the sale | It's logged in under your employee profile, not a shared or generic login |
Card reader / credit card reader | Reads a credit card, debit card, or contactless tap | It's connected and shows a ready status, not an error or offline message |
Receipt printer | Prints a paper receipt or triggers a digital one | It has paper loaded and isn't jammed from the last shift |
Cash drawer | Holds cash and opens automatically on a cash sale | The starting cash count matches what's logged in the system |
Barcode scanner | Scans a product's barcode to add it to the ticket instead of searching manually | It scans cleanly on a few test items before the rush starts |
Customer-facing display | Shows the guest their order and total before they pay | It's showing the current ticket, not a frozen or blank screen |
Customer-facing displays in particular are worth testing before your first shift, since a frozen or mismatched screen at checkout is one of the fastest ways to trigger a customer dispute over the total.
A mobile POS, sometimes shortened to mPOS, is just this same hardware shrunk down to a phone or tablet you carry instead of a fixed terminal. Mobile POS systems are common at bars for tableside tabs, at food trucks, and in retail during busy periods when a second checkout point helps move a line faster.
How to ring up sales, step by step
Once you know the hardware, the checkout process for ringing up a sale follows the same basic sequence almost everywhere, whether you're working a restaurant floor, a bar, or a retail counter. Every one of these steps ends up logged as one of many sales transactions the system tracks for the day, so accuracy at each step matters more than speed alone.
1. Open a new ticket. Select a table, a tab, or a generic “new sale” depending on your setup.
2. Add items to the ticket. Search the product catalog, tap a menu button, or use the barcode scanner for packaged items.
3. Apply modifiers or discounts. Add substitutions, size changes, or a manager-approved discount before moving on.
4. Apply loyalty points or a gift card, if the customer has one. This usually happens before payment, not after.
5. Review the total, including sales tax. A quick glance here catches most ticket mistakes before they become a refund later.
6. Choose a payment type and process it. This is where credit card, mobile payments, or cash all branch into slightly different steps, covered below.
7. Close the ticket and hand over a receipt. Print one, send a digital copy, or ask if the customer wants either at all.
Payment types you'll process
Card and cash used to be the whole list. They aren't anymore, and mixing up the steps for each payment type is one of the more common new-hire mistakes at checkout. Payment processing happens behind the scenes on every one of these, but the steps you take at the register differ enough to matter.
Payment type | What you do | Notes |
|---|---|---|
Credit or debit card | Insert, swipe, or tap the card reader | Chip and tap both authorize faster than a swipe |
Mobile payments (Apple Pay, other mobile wallets) | Hold the phone near the card reader until it confirms | Functionally the same as a contactless card tap |
Contactless payments generally | Tap instead of insert or swipe | Fastest option when the card reader supports it |
Cash | Open the cash drawer, confirm the amount, and give correct change | Always count change back out loud to avoid disputes |
Gift cards | Scan or key in the card number before the rest of the payment | Check the balance before assuming it covers the full ticket |
Once a ticket is paid and closed, it usually still needs to reach the kitchen or the back room in a restaurant setting. Many restaurant POS systems send the ticket straight to a kitchen display system the moment it's confirmed, which is worth understanding even as a front-of-house employee, since it's often the first thing a manager checks when an order runs late. Otter's guide to kitchen display systems explains how that hand-off works in more detail.
Processing refunds and adjustments
Refunds happen every shift, and most POS systems require a manager code or a specific permission level to process one. Before your first shift, confirm exactly what that process looks like on your system: which button starts a refund, whether it needs approval, and how it's supposed to be logged.
A system that handles PCI compliance correctly will never let a refund bypass its usual authorization step, even if a manager is standing right there and it feels like it's slowing things down. That extra step exists to protect the business and the customer's card data, not to make your shift harder.
Using loyalty and customer data at checkout
Loyalty programs and gift cards used to live outside the POS, in a separate app or a stamped paper card. On most modern systems, they're built into the same checkout screen.
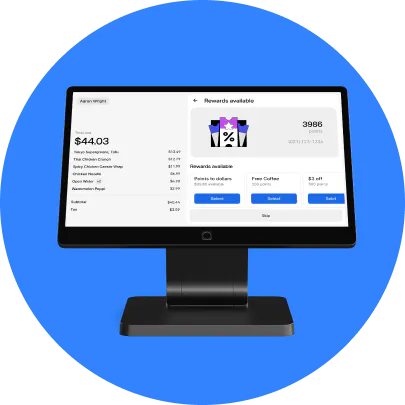
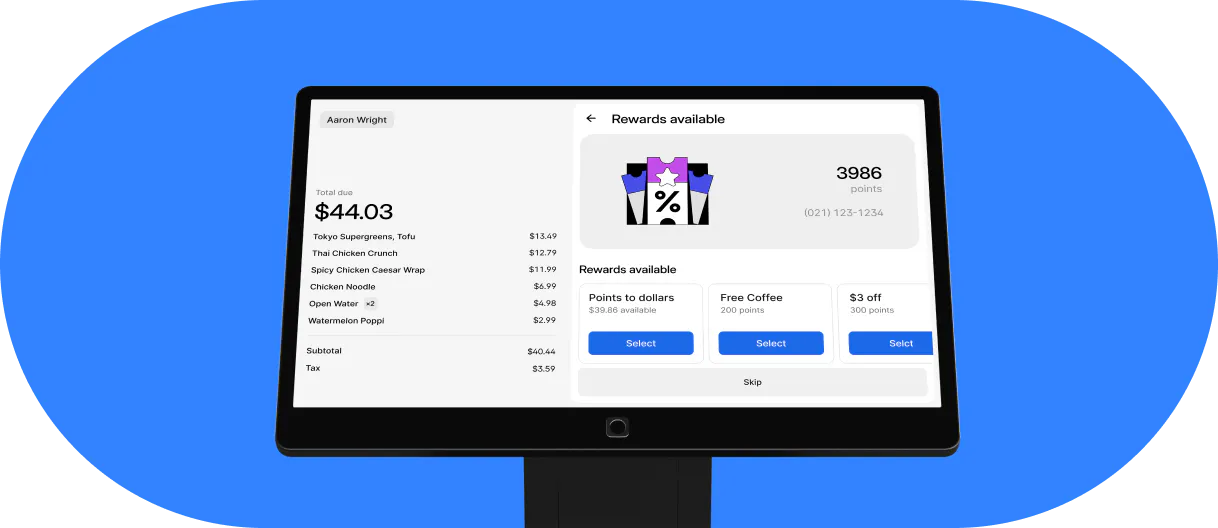
- Loyalty points usually get applied or earned automatically once a customer's account or phone number is linked to the ticket
- Customer data, like order history and past visits, can show up right on the ticket screen through the POS's customer relationship management (CRM) tools, which is really just customer management by another name
- Gift cards can be checked and applied the same way a credit card is, often before the rest of the payment
Otter's loyalty program is built to enroll a customer directly at the terminal or through a QR code, and rewards apply automatically at checkout instead of requiring a separate app or a manual lookup. For staff, that mostly means one less system to explain to a customer mid-transaction.
Reading POS reports, for shift leads and managers
New hires usually start with ringing up sales, but understanding what the system tracks behind the scenes makes it easier to grow into a shift lead role.
Most POS reporting covers a similar set of numbers:
- Sales reports broken down by item, hour, or employee
- Sales trends over days or weeks, useful for staffing and ordering decisions
- Inventory tracking, so the system flags when it's time to track inventory levels and reorder before something actually runs out
- Employee management data, like hours worked and sales per shift
Most systems can also export this data directly to accounting software, which is usually a manager-level task rather than something a new hire needs to touch on day one.
How this changes across restaurants, bars, and retail counters
The core mechanics of ringing up a sale barely change across formats, but a few details shift depending on where you're working.
Setting | What's different | Common hardware or software note |
|---|---|---|
Restaurant floor | Tickets are tied to a table or seat, and modifiers matter more (no onions, extra sauce) | Orders typically route to a kitchen display or printer automatically |
Bar | Tabs stay open across multiple rounds, and tips get added at close-out | A bar POS system usually supports fast, one-tap repeat orders for common drinks |
Retail counter | Sales are tied to individual products rather than a modifier-heavy ticket | Inventory tracking and an ecommerce platform connection matter more, since stock has to match online and in person |
Systems like Square are common across all three settings, which is part of why the underlying steps feel similar even when the terminology changes slightly from a restaurant menu screen to a retail product catalog.
Keeping every transaction secure
A few habits protect both the business and the customer on every single transaction, regardless of format.
- Never key in a full card number by hand unless the card reader has genuinely failed. Manual entry bypasses some of the fraud protections built into chip and contactless payments
- Double-check sales tax is applying correctly on any manually entered item or discount, since a wrong tax rate is one of the most common end-of-day reconciliation problems
- Keep your login separate from a coworker's, even during a quick shift swap. Shared logins make it impossible to trace who processed a specific refund or discount later
Getting comfortable on a new system before it matters
steps.
Try Otter's POS training mode before your first live shift, if your restaurant runs on Otter POS: it lets new staff practice opening tickets, applying modifiers, and processing different payment types on a sandbox version of the real system, without touching an actual transaction. Christina Hong, owner of Seoulmates in Los Angeles, described switching her whole team over to Otter this way: “Transitioning from a previous POS system to Otter has been very smooth. The setup process was super easy. I'm not technologically advanced, so for me to be able to set it up and do it without having to ask any questions, that was very helpful. Anyone can do it.”
That's really the bar worth aiming for on any POS, whether it's Otter or something else: a new hire should be able to ring up a real sale correctly within their first hour on the system, not their first week.
Frequently asked questions about how to use point of sale software
How do I use a POS system for the first time?
Start with the hardware: confirm the card reader, receipt printer, and cash drawer are all connected and working. Then practice the core sequence on a training mode or demo ticket if one is available: open a ticket, add items, apply any discount, take payment, and close it out. Most systems follow this same basic flow regardless of brand.
How do I use a POS system in a restaurant specifically?
Restaurant POS systems add a few extra steps around modifiers (substitutions, add-ons) and ticket routing to the kitchen. After adding items to a ticket, you'll typically select modifiers before sending the order, and the system usually pushes it to a kitchen display or printer automatically once the ticket is confirmed.
How is using a bar POS system different from a restaurant POS?
The core steps are the same, but bar tabs usually stay open across multiple rounds instead of closing after one ticket, and tips get calculated and added at close-out rather than at the time of each individual drink order. A bar POS system is also built for fast, repeat one-tap orders on common drinks.
How do I use a POS system for retail?
Retail POS use centers on scanning or selecting individual products rather than building a modifier-heavy ticket. Inventory tracking matters more, since a sale needs to update stock counts immediately, especially if the same inventory is also sold through an ecommerce platform.
What payment types does modern POS software need to handle?
At minimum: credit and debit cards, contactless payments and mobile wallets like Apple Pay, cash, and gift cards. Each one has a slightly different sequence at checkout, and mixing up the steps, especially with contactless payments, is one of the most common mistakes for new staff.
How do I process a refund on a POS system?
Refund steps vary by system, but most require a manager code or an elevated permission level before completing one. Confirm the exact process on your specific system before your first shift so you're not learning it live at the register with a customer waiting.

Try Otter's POS training mode