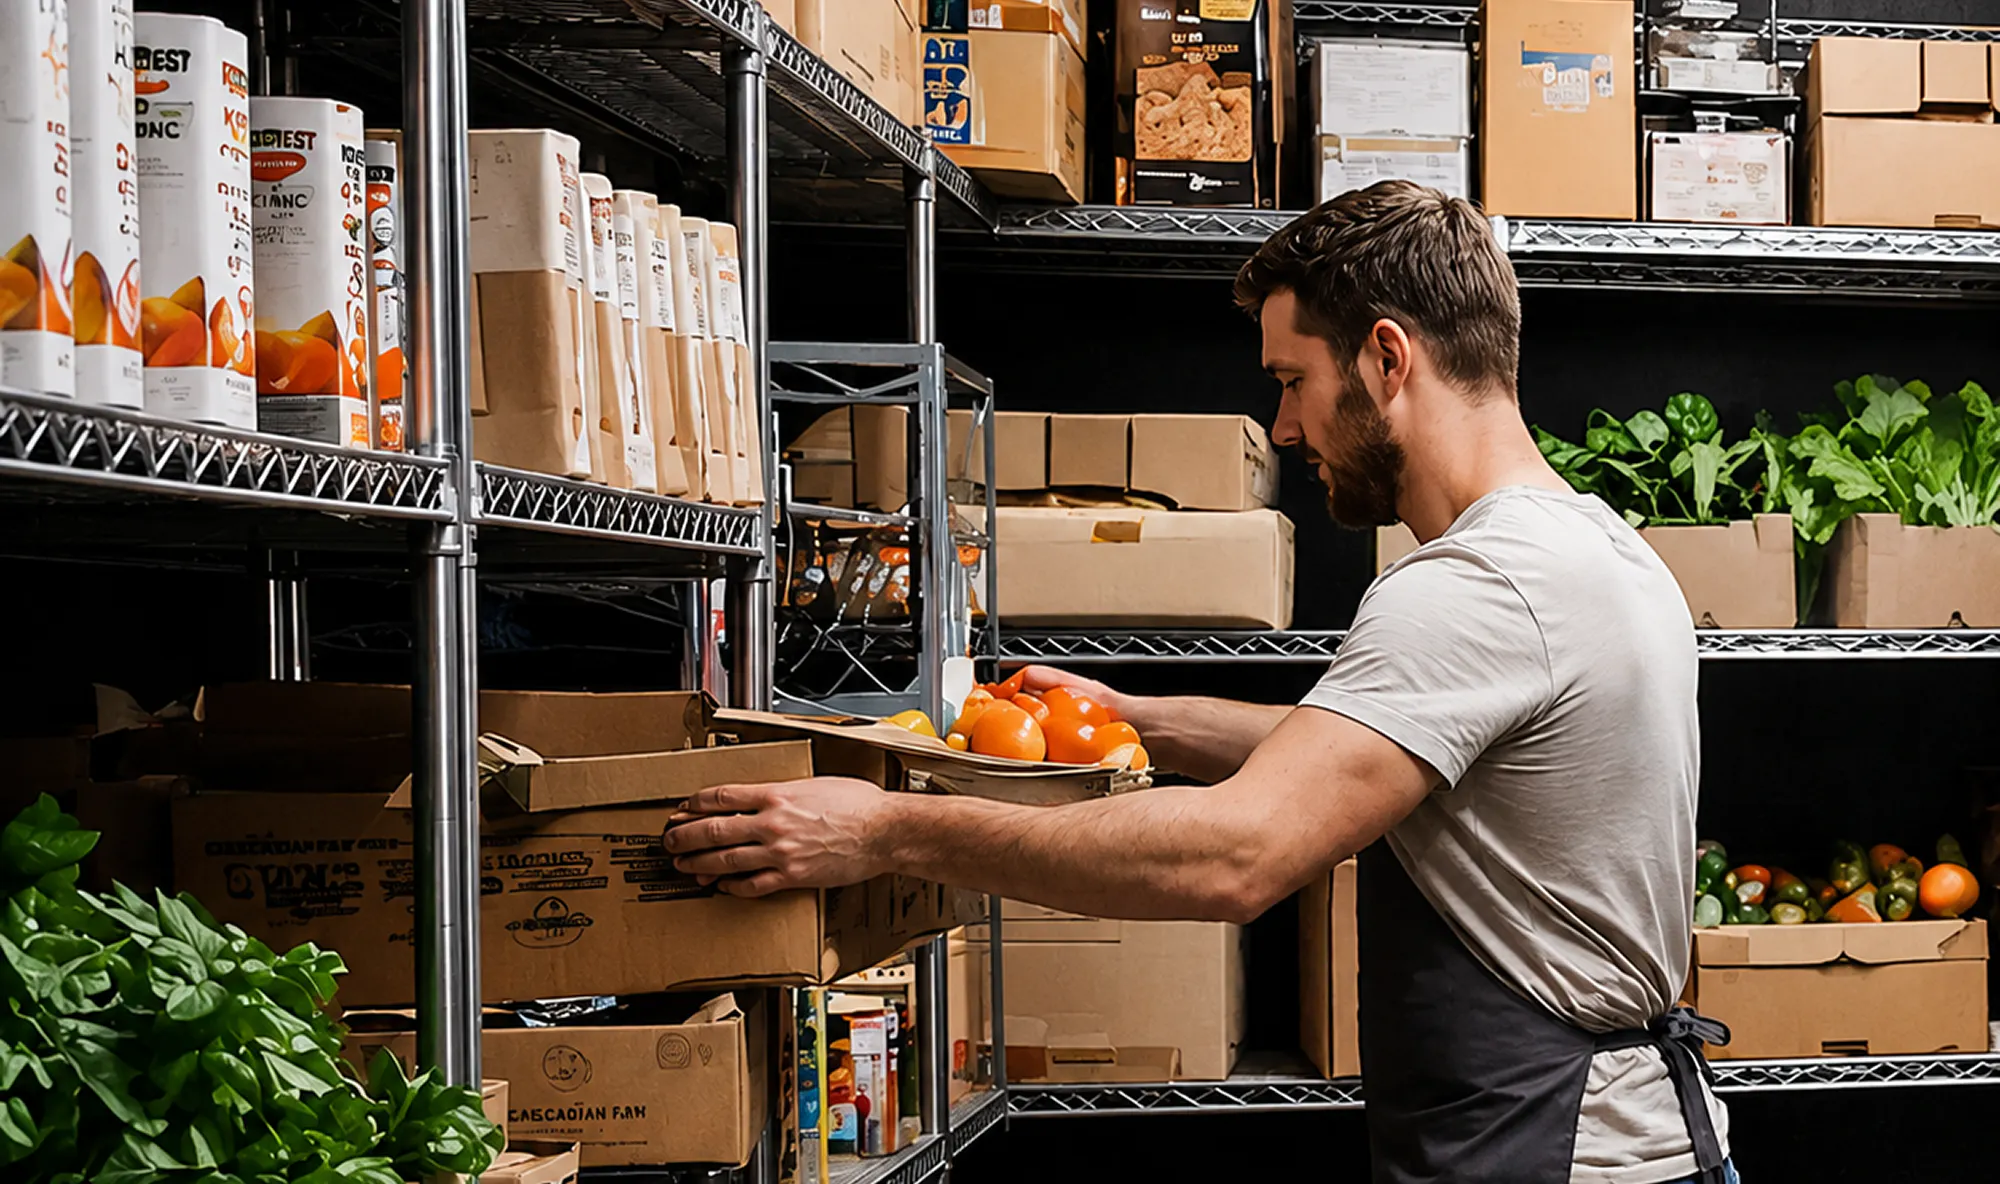
Table of contents
- What a physical inventory count actually is (and what it tells you)
- Full count vs. cycle count: choosing the right method for a kitchen that stays open
- When to schedule your count so it doesn't kill a shift
- How to prep your team, your count sheets, and your counting rules
- Standardize units of measure before the first count
- Step-by-step: running a physical count in a working kitchen
- How to count partials, prep items, proteins, and open bottles
- When the numbers don't match: a variance triage for food-service operators
- How often to count based on your volume and risk profile
- Accurate counts are the foundation of every purchasing decision that protects your margin
- FAQ about physical inventory counts
Food and beverage costs typically run 28-35% of restaurant revenue, the single largest controllable expense on your P&L. The National Restaurant Association's own 2024 operator data puts full-service food and beverage costs at a median of 31.0% to 33.7% of sales depending on volume, squarely inside that range. Yet most operators either skip physical counts entirely or shut the kitchen down to do them. Both choices cost you money.
Skipping means you're flying blind on food cost. Closing means you're losing revenue to collect data you could have gathered during a pre-open walk-in sweep. There's a better way.
A timing framework, counting methods, and clear team assignments let you run an accurate physical inventory count inside a live, working kitchen. No shutdown required.
Key Insights
- You do not need to close to count accurately. Splitting the count across a pre-open window for proteins and a post-close window for dry goods and alcohol keeps your kitchen running and your data clean
- The most common cause of inventory variance is not theft, it is a receiving log error or unlogged waste. Always check those records first before escalating a discrepancy to a management issue
- Counting rules for partial and multi-state items (proteins by total weight, alcohol by tenths, prep by batch unit) must be established before the first count sheet hits the floor. Without them, two counters on the same shelf will produce two different numbers
- A consistent count cadence produces your true weekly usage rate, which is the foundation of smarter purchase orders and, over time, stronger positioning in distributor pricing negotiations
What a physical inventory count actually is (and what it tells you)
A physical inventory count is a manual, hands-on verification of every item on hand matched against your inventory records. It's your truth check: the moment when what your inventory management system says you have meets what's actually sitting on the shelf. Some operators call this a stock take; the term varies, but the physical counting process is the same.
The data feeds your cost of goods sold (COGS) calculation directly:
Beginning inventory + purchases − ending inventory = COGS
If your ending inventory number is wrong, your food cost percentage is wrong. That same ending inventory figure also carries onto your balance sheet as an asset value, and it's a number worth checking against budget each month, not only at count time. If your food cost percentage is wrong, every purchasing decision you make for the next month is built on bad math.
For independent operators, QSR, and fast-casual restaurants, this matters more than most people acknowledge. Even one month of off-data can shift your food cost percentage by two or three points. That sounds small until you realize it's the difference between a profitable month and a break-even one.
The good news: a physical count does not require shutting down your kitchen. It requires a schedule, documented counting methods, and clear team assignments.
Full count vs. cycle count: choosing the right method for a kitchen that stays open
Full (periodic) count
A full count covers every SKU you carry at one point in time. It's the most comprehensive approach and the one required for accurate financial reporting. Most operators run a full count monthly or annually.
The downside is disruption. Counting 150+ SKUs in a single window is hard to do without slowing something down.
Cycle count
A cycle count covers a rotating subset of items on a regular schedule: proteins every week, dry goods bi-weekly, alcohol every Friday pre-open. You never count everything at once, so the count fits into normal operations without a shutdown. Running the same rotation every period is what turns a one-off inventory cycle count into a real cycle count program, and it's a form of inventory control, not a substitute for it.
The key distinction: cycle counting supplements a full count. It does not replace an annual full-facility count needed for financial reporting. You need both. Whether you run this as a manual count on paper or feed the numbers straight into inventory management software, the inventory counting methods below work the same way.
Cycle counting is one tool in a bigger toolkit. Otter's roundup of inventory management techniques for restaurants covers FIFO, ABC analysis, reorder points, and demand forecasting alongside cycle counting, useful if you're building out a fuller system rather than fixing counting alone.
Which method fits your operation?
- Ghost kitchens and QSRs with 50-80 SKUs: a full count weekly is realistic in under an hour with two people; build it into the Sunday close routine
- Fast-casual operators with 150+ SKUs: cycle count dry goods and packaging bi-weekly, run full counts monthly on proteins and alcohol
- Multi-location independents: standardize the method across every location; counting proteins weekly at one site and monthly at another makes inter-location variance comparisons meaningless
Most operators should run both: weekly cycle counts for high-cost, high-risk categories plus a monthly full count for financial accuracy.
When to schedule your count so it doesn't kill a shift
Timing is the variable most operators ignore. The right window produces accurate data without slowing down the line.
Pre-open window (6-8 AM)
Best for refrigerated proteins, dairy, and produce. Yesterday's delivery is logged and restocked. Nothing has been pulled for prep yet. Stock is stable, the walk-in is organized, and the count moves fast. This is your cleanest window for high-velocity, high-cost items.
Post-close window (after last ticket)
Best for dry goods, paper goods, and bar alcohol. No active pulling from shelves. Your team is already doing side work. Adding a count to the close routine adds 20-40 minutes, not a separate shift.
Mid-week slow window (Tuesday 2-4 PM)
Best for cycle-count categories with low daily velocity: specialty sauces, packaging, low-turn dry goods. Traffic is predictable, and you can spare two people without affecting service.
What to avoid
- Counting mid-service
- Counting during an active delivery window
- Counting a category immediately after a delivery before the receipt is logged
The rule is simple: never count an item category that is actively being pulled for production. If the sandwich line is building at 10 AM, do not count bread at 10 AM.
Build a weekly count calendar. Assign specific categories to specific windows so no single window is overloaded and no category goes untracked.
How to prep your team, your count sheets, and your counting rules
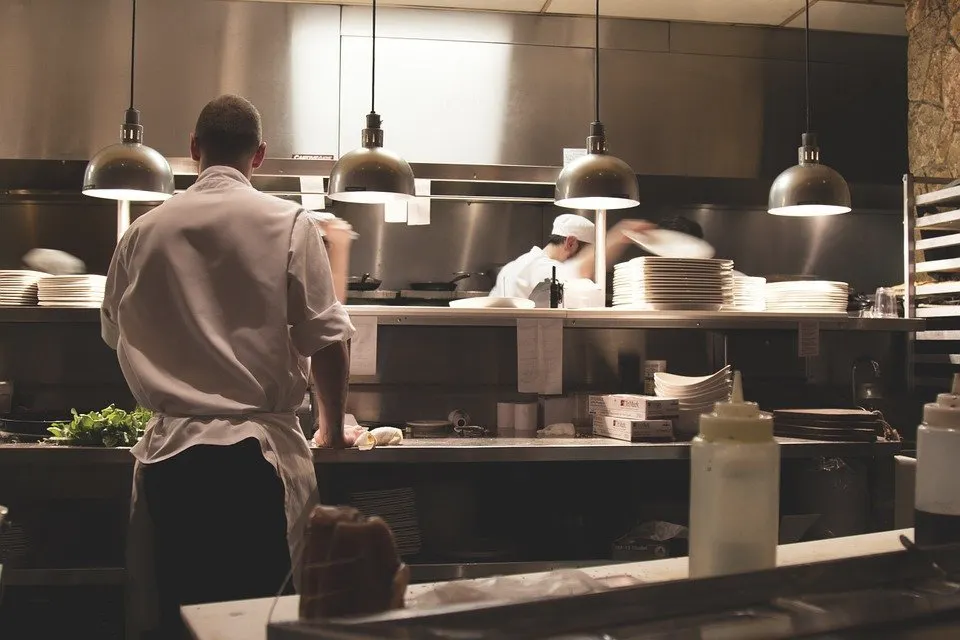
Team roles
Assign three roles before the count starts:
- Counter: physically counts and calls out numbers
- Recorder: writes or enters counts in real time
- Verifier: spot-checks high-value or high-discrepancy items independently after the initial count
Blind counts
Counters must not see the expected quantity before they count. This is called a blind count, and it matters. Anchoring bias causes staff to unconsciously round toward what they expect to see, which corrupts your data on the items where accuracy matters most. On high-value proteins and alcohol, a small rounding error carries a real dollar impact.
Count sheet structure
At minimum, your count sheet needs:
- Item name
- Unit of measure
- Storage location
- Count field
- Notes field for partials or unusual conditions
- A counting-rule column for items commonly miscounted
Some operators use barcode scanners or other barcode scanning tools to speed up data entry and reduce transcription errors, especially for packaged dry goods and beverage SKUs. This is the same automation logic behind a warehouse management system (WMS) or RFID technology (radio frequency identification) in a distribution center, just scaled down to a single kitchen. Most independent restaurants don't need a WMS or RFID tags, or even dedicated inventory software, to get accurate data and avoid stockouts; the counting rules below do the same job with a clipboard or a spreadsheet. If your team is manually recording everything, build in extra time for verification.
Standardize units of measure before the first count
Decide whether flour is counted in pounds or bags. Whether chicken is counted in total pounds or individual portions. Whether wine is counted by bottle or in tenths. Document it. If you count flour in bags one month and pounds the next, your variance data is useless, and inventory accuracy suffers across the board.
Pre-count prep steps:
- Freeze pending purchase orders and transfers in your system before counting starts
- Confirm all morning deliveries are fully logged before counters enter the walk-in
- Do a quick shelf organization pass the night before to consolidate like items
Document your counting rules once and train staff on them. Turnover is high in restaurants, and your counting standard should survive any single employee leaving.
Step-by-step: running a physical count in a working kitchen
- Freeze transactions. Pause any pending waste logs or inter-station transfers for the duration of the count window. Note your exact start time as the official count timestamp
- Count in location order, not category order. Walk-in left to right, then dry storage, then line stations. Counting by physical location prevents double-counts and missed items
- Record in real time. Counters call out, recorders write immediately. Do not batch-record from memory at the end of a section. Human error compounds fast when you're working from recall
- Flag unit ambiguities on the spot. If two team members would describe the same item differently ("is this 2 lbs or 2 portions?"), resolve it before moving on and add a counting rule to the sheet
- Recount high-value categories. Proteins and alcohol get a second independent count before you compare to records. The extra five minutes is worth it
- Enter count data immediately. Count sheets left overnight introduce transcription errors. Enter everything into your inventory tracking system or spreadsheet before the window closes
- Generate a variance report. Actual count vs. expected quantity for every item, sorted by dollar value of variance from largest to smallest. Any gap that survives your triage becomes one of your documented inventory adjustments on the inventory report, not a guess
Otter's POS keeps a clean, timestamped sales record across every order channel, dine-in, delivery, and direct online orders, on one screen. When you're ready to reconcile, pull your sales data for the exact count window before you run the COGS math. A clean sales figure for that specific period is what makes the reconciliation accurate, especially if you're running multiple delivery platforms alongside your counter, and it keeps order fulfillment on every channel backed by real numbers instead of guesses about what raw materials actually left the kitchen.

How to count partials, prep items, proteins, and open bottles
This is the gap every general inventory guide skips. Retail counting guides are written for sealed units of merchandise. Your kitchen has none of those.
Bulk dry goods (flour, sugar, rice)
Count by weight or by estimated fraction of the original container. The fraction method ("1 full bag + 0.5 bag") works if your bag sizes are consistent, document the bag size. If bag sizes vary by delivery, count by weight on a kitchen scale.
Proteins
Always count by total weight, not by portion count. Forty pounds of chicken that has been portioned into 6-oz cuts is still 40 lbs of chicken. Count what you physically have in pounds. Portion count introduces variance every time portioning drifts even slightly.
Prep items
Decide whether to count the raw-ingredient equivalent or the finished prep quantity. Most operators count finished prep by weight or by standardized batch unit. Pick one and stick to it. Switching between methods creates phantom variances that are impossible to investigate.
Alcohol
Use the tenths method. Hold the bottle to a light, estimate to the nearest tenth (0.7 of a bottle, for example), and record as a decimal. Train every team member on the same visual reference scale before your first count. Inconsistency here is where bar cost percentages go sideways.
Open containers (cooking oil, syrups, spice jars)
Count by visual fraction or by weight on a kitchen scale. Inconsistency on open containers is a top source of phantom variances. The practical rule: if two staff members would count the same item differently without guidance, write a counting rule for that item before it ever appears on a count sheet.
When the numbers don't match: a variance triage for food-service operators
Most inventory management guides stop at "reconcile discrepancies." Here's what to actually do next.
Timing matters as much as method. Otter's guide to daily restaurant inventory walks through why variance investigated the morning after a count is a solvable puzzle, while the same variance investigated 30 days later is just a guess.
Step 1
Set variance thresholds by category before you investigate:
- Proteins and alcohol: flag anything above 3%
- Dry goods: flag anything above 5%
- Packaging: flag anything above 7%
Below-threshold gaps are likely counting rounding, not a real problem.
Step 2
Check receiving logs first. The most common cause of variance is a delivery logged at the wrong quantity or not logged at all. Verify every receipt in the count period against actual product received. A receiving error is not a theft problem. It's a process problem with a straightforward fix.
Step 3
Check waste and comp records. Unlogged spoilage and unrecorded comps are the second most common cause of variance. If your team discards prep without logging it, the count will always show a shortage.
Step 4
Check portion compliance. If a recipe calls for 6 oz of beef but portioning has drifted to 7 oz, a week of service creates a meaningful protein variance. That is a training issue, not a theft issue. FIFO discipline and portion control checks solve it.
Step 5
Flag residual variances for further investigation. What remains after receiving, waste, and portioning checks are cleared is where shrinkage and theft actually live.
Document the root cause of every flagged variance. Over time, that log shows you which categories, which stations, and which shifts have chronic problems. That pattern is operational intelligence you can act on.
How often to count based on your volume and risk profile
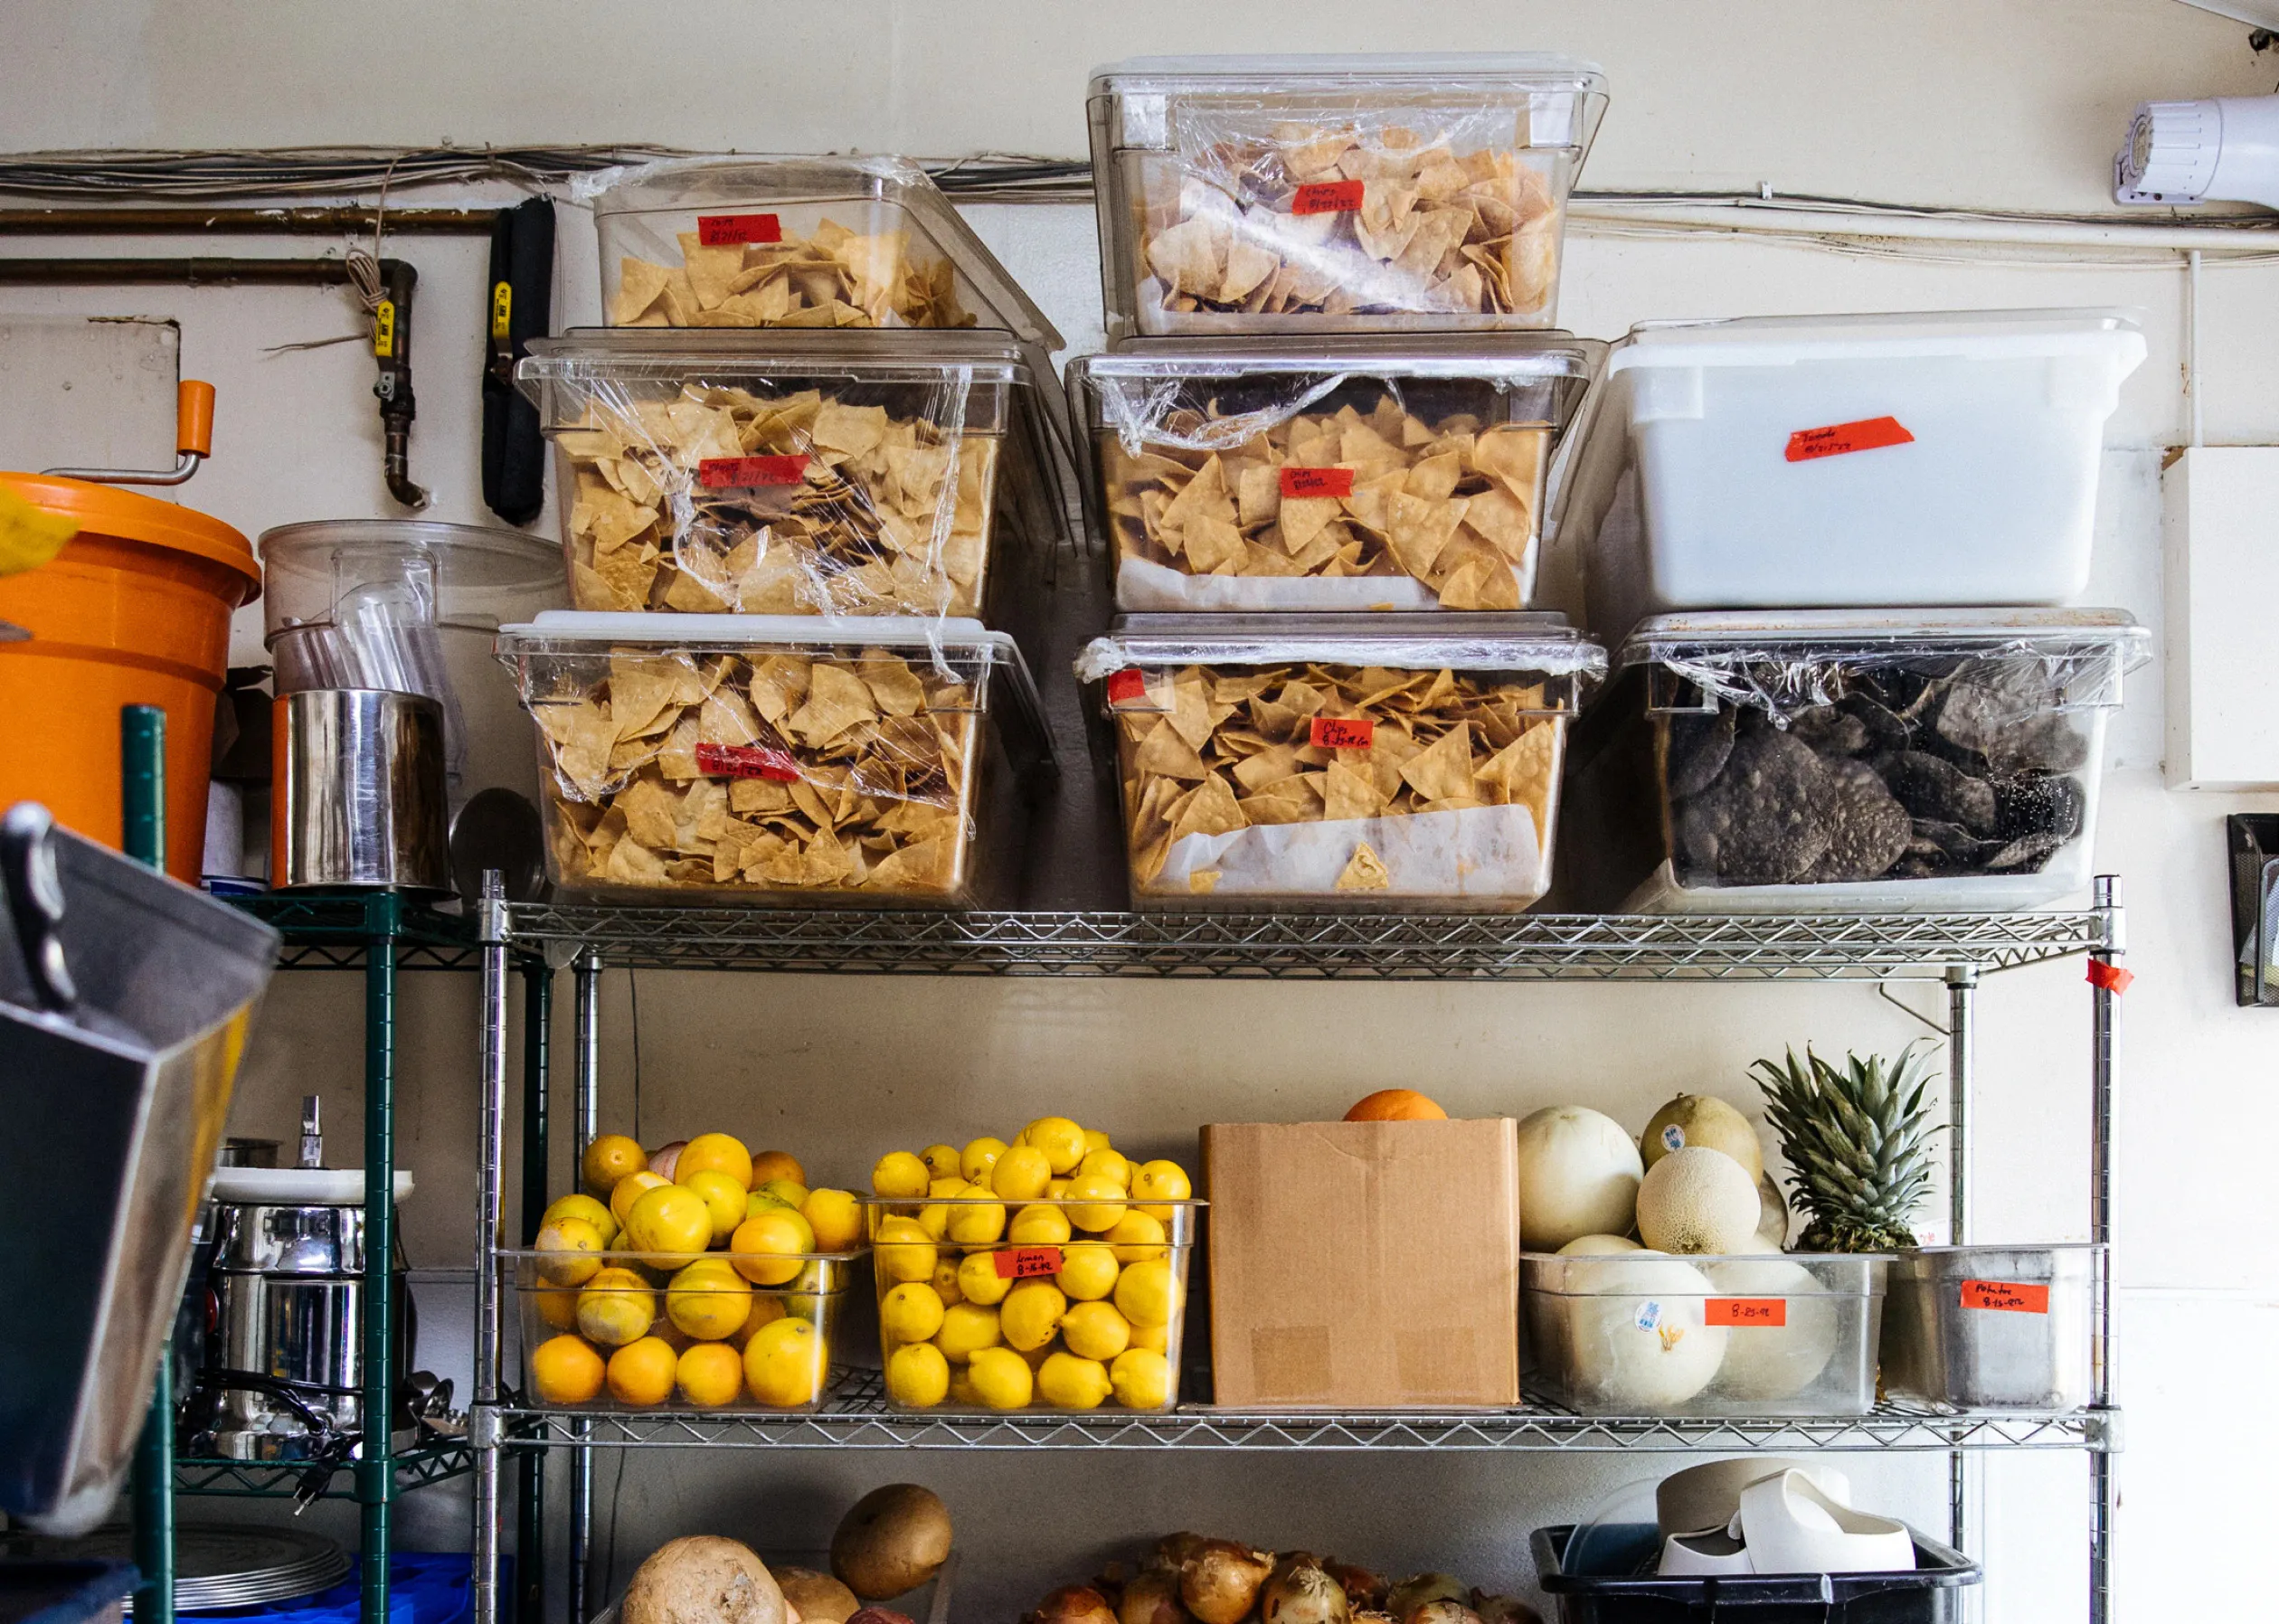
There is no universal answer. The right cadence depends on your dollar volume, SKU count, and category risk.
Category | Recommended cadence |
|---|---|
Proteins, alcohol, specialty ingredients | Weekly |
Mid-velocity dry goods and packaging | Bi-weekly or monthly |
Low-velocity specialty items | Monthly or quarterly |
Volume threshold guidance: if your weekly food cost runs $20,000 or more, run at minimum monthly full counts on proteins. Smaller-volume operators can often cover everything adequately with bi-weekly cycle counts year-round.
Ghost kitchens and virtual brands: a full weekly count is realistic in under 30 minutes with two people when your SKU count is narrow. Build it into the Sunday close as a standing task.
Annual full count: every operation needs at least one full-facility count per year for financial reporting and to catch categories that cycle counts may have missed.
Multi-location independents: run the same cadence at every location. Counting proteins weekly at one site and monthly at another makes location-to-location comparisons unreliable. That comparison is one of the most valuable tools you have for spotting a problem location early.
Accurate counts are the foundation of every purchasing decision that protects your margin
Running a count without closing is only half the work. The count is worthless if the data sits in a spreadsheet and doesn't drive a purchasing decision.
Good inventory management starts here: accurate count data produces your true weekly usage rate. That usage rate is the input that makes every purchase order smarter, less over-ordering, less spoilage, tighter food cost percentage over time. Operators who count consistently buy closer to what they actually use, and that discipline compounds over months into meaningfully lower food cost. Otter's guide to restaurant accounting covers how this usage data flows into your broader financial reporting, from your COGS ratio to prime cost, if you want the fuller picture beyond the count itself.
Setting a clear par level for each category, the minimum quantity you need on hand before reordering, is only possible when your counts are reliable. Without inventory accuracy, your par levels are guesses, and your orders will always run either too high or too low.
"One of the things very useful as the business owner, especially when I'm not here, is that my staff can 86 menu items if we run out of an ingredient. Through the Otter Go app, it gives me a notification and lets me know that something went unavailable, so I can check in and see why."
Christina Hong, owner of Seoulmates, Beverly Grove, Los Angeles, CA
When you know your true weekly protein and dry-goods usage, you can approach distributor negotiations with real numbers: volume commitments you can actually honor instead of estimates. Otter's Inventory Savings feature connects you with sourcing recommendations and distributor discounts that build on that usage data. Sourcing savings typically begin to reflect in invoices within approximately 90 days of enrollment, so the earlier you establish a consistent counting cadence, the sooner the data is working for you. Otter's guide to restaurant supply chain management covers group purchasing and supplier relationships in more depth if distributor negotiations are your next step after you've got clean counts.
The kitchen does not need to stop for a count to work. It needs a timing schedule, documented counting standards, and a team that knows exactly which job belongs to whom.
Ready to put your count data to work? Explore how Otter turns accurate inventory into real sourcing savings.
FAQ about physical inventory counts
How long does a physical inventory count take in a restaurant?
It depends on your SKU count and shelf organization. A ghost kitchen or QSR with 50-80 items can complete a full count in 45-60 minutes with two people. A fast-casual operator with 150+ SKUs typically needs 2-3 hours, which is manageable when split across a pre-open and post-close window. Good shelf organization the night before cuts count time significantly.
What is the difference between a cycle count and a physical inventory count?
A physical inventory count covers every item you carry at one point in time. A cycle count covers a rotating subset, proteins every week and dry goods every two weeks, for example. Cycle counting is less disruptive and catches problems faster. A full physical count is more comprehensive and is typically done monthly or annually for financial reporting. Most restaurant operators should run both.
Do I need to close my restaurant to do a physical inventory count?
No. Most operators can run an accurate count by splitting it across a pre-open window for refrigerated and high-velocity items and a post-close window for dry goods and alcohol. The key is to count categories when they are not actively being pulled for production, and to freeze any pending waste logs or transfers during the count window.
What should a physical inventory count sheet include?
At minimum: item name, unit of measure, storage location, a count field, and a notes field for partials or abnormal conditions. For restaurant use, add a counting-rule column for items commonly miscounted, for example, "count chicken by total pounds, not portions." The unit of measure must be consistent across every count.
How do I count a partial bottle or open container?
For liquor and wine, use the tenths method: hold the bottle to a light, estimate to the nearest tenth (0.7 of a bottle, for example), and record as a decimal. For dry goods in open bags, count by weight on a kitchen scale or by visual fraction of the original container. Consistency matters more than the specific method. Choose one approach per category, document it, and train everyone to use it the same way.
What causes the biggest variances in a restaurant inventory count?
In order of frequency: receiving errors (deliveries logged at the wrong quantity or not logged at all), unlogged waste and spoilage, portioning drift (staff using more of an ingredient than the recipe specifies), and finally theft or shrinkage. Always check receiving logs and waste records first before treating a variance as a theft problem.
How often should a restaurant do a physical inventory count?
High-cost, high-risk categories like proteins and alcohol should be counted weekly. Mid-velocity dry goods work well on a bi-weekly or monthly cycle. Every operation should complete at least one full-facility count per year for financial reporting. Ghost kitchens and virtual brands with narrow menus can realistically finish a full weekly count in under 30 minutes.
What is a blind count and why does it matter?
A blind count means the person doing the counting does not see the expected quantity before they start. This eliminates anchoring bias, where staff unconsciously round toward what they expect to see rather than what is actually there. Blind counts produce more accurate data, especially on high-value items where a small rounding error carries a real dollar impact.

Cut food costs with Otter's sourcing data